In this article, we discuss on how to how to integrate LogMeOnce (SP) with Okta (IDP) using SAML SSO.
Okta Side Configuration - Add LogMeOnce and Okta Integration
- Login to your Okta environment (YourCompany.Okta.com)
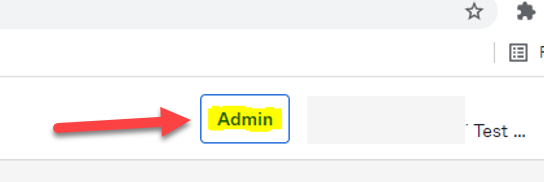
- Go to the Admin panel
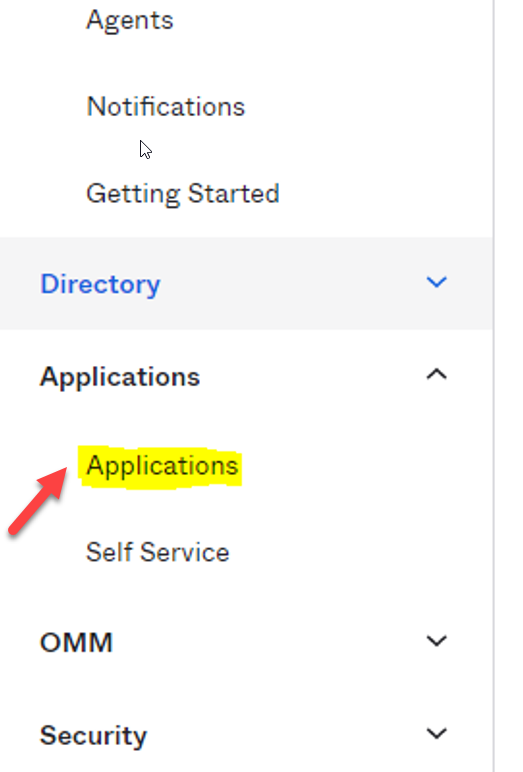
- Go to the Application section:
- Click on “Browse App Catalog” button and search for LogMeOnce:
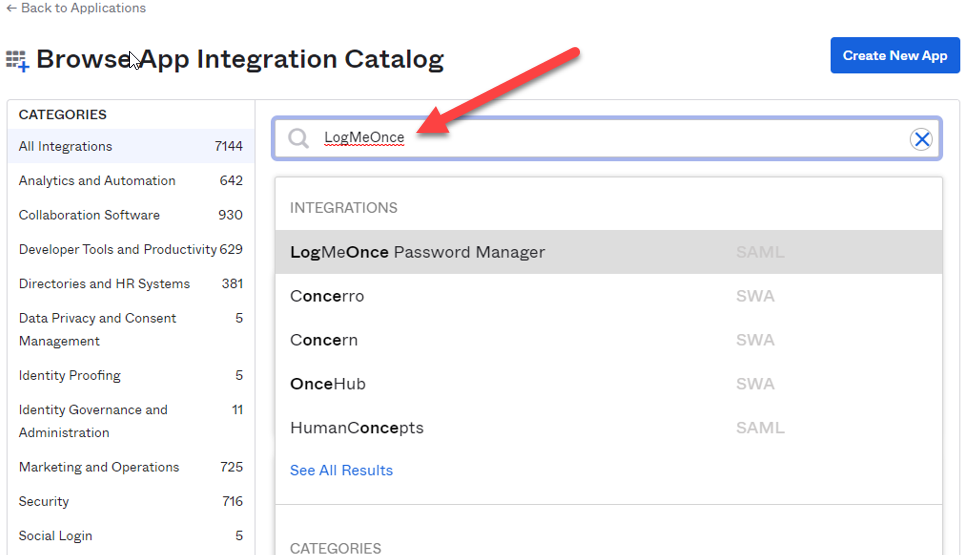
- Click on it to add it
- Click on Add button

- Enter your LogMeOnce subdomain as below:
(Make sure to not enter the full URL, enter the subdomain only)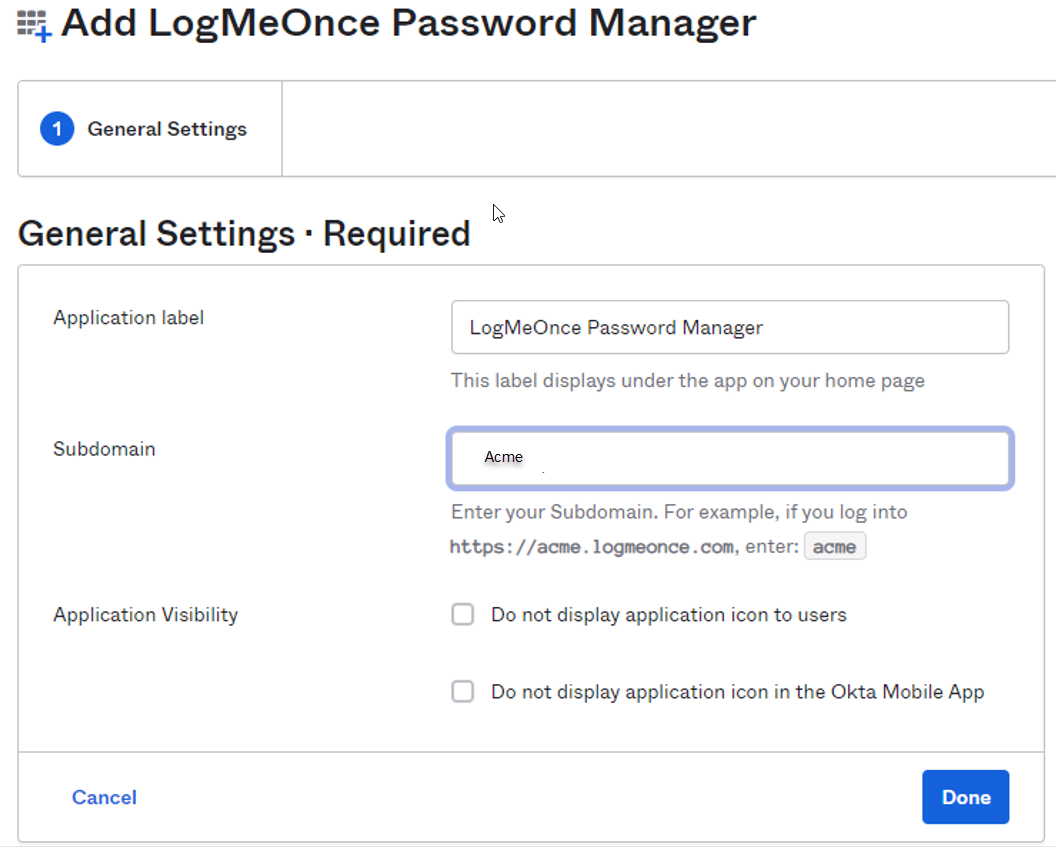
- Click on Done button.
- Now Click on the Sign On tab and:
- Follow Okta instructions with View SAML setup instructions button, or
- Under SAML 2.0 section click on More details - to be used on next step
LogMeOnce Side Configuration - Configure Okta as IdP
LogMeOnce provides a unified federation solution which allows configuring and managing multiple IdPs and provide access using Adaptive Authentication solution based on users, roles and access. By defining one or more IdPs, you will be able to configure LogMeOnce as a service provider (SP) and use external identity providers (IdP) to Single Sign-On (SSO) into LogMeOnce.
-
- Login to your LogMeOnce administrator account with privileges to create SAML Identity Provider
- Click on Administrator Console
- From left menu Click on Security -> Identity Providers
- Click +Add Identity Provider
- Select Okta
At Okta side edit the LogMeOnce application you just created, then click on the Sign On tab and
- Under SAML 2.0 section click on More details to get all details:
Name: Enter a name for your IDP (Ex. Okta).
Issuer: Paste Issuer from Okta details
Identity Provider Certificate: Download and use Signing Certificate file from Okta details
Identity Provider Login URL: Paste Sign on URL from Okta details
Identity Provider Logout URL: Paste Sign out URL from Okta details
The configuration is completed at the LogMeOnce side
Okta Side Configuration - Identity Id
The last step on Okta side is to enter Identity Id from LogMeOnce Identity Provider page. You can get Identity Id directly from the details view of Identity Provider page after your Okta Identity Provider is added.
Also when you edit your Identity Provider at Endpoints section you can get Identity Id from Assertion Consumer Service URL:
In the above examples Identity Id is: Nn30AXx5
Okta Side Configuration - Assign users
- In order to complete the process, we need to assign your users to LogMeOnce in Okta so they can login to LogMeOnce using Okta.
- Go to Okta application section and click on LogMeOnce.
- Go to the Assignment tab
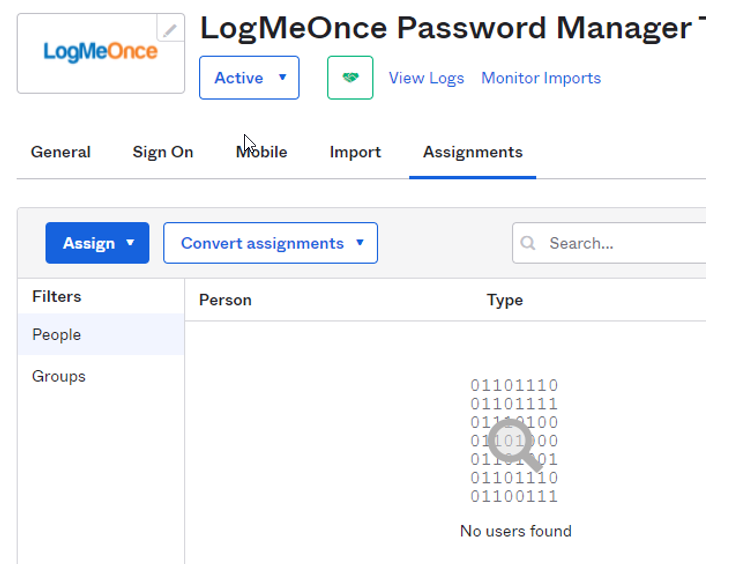
- Click on the Assign button and assign your users. (you can also assign Groups to LogMeOnce)
- Click Done.
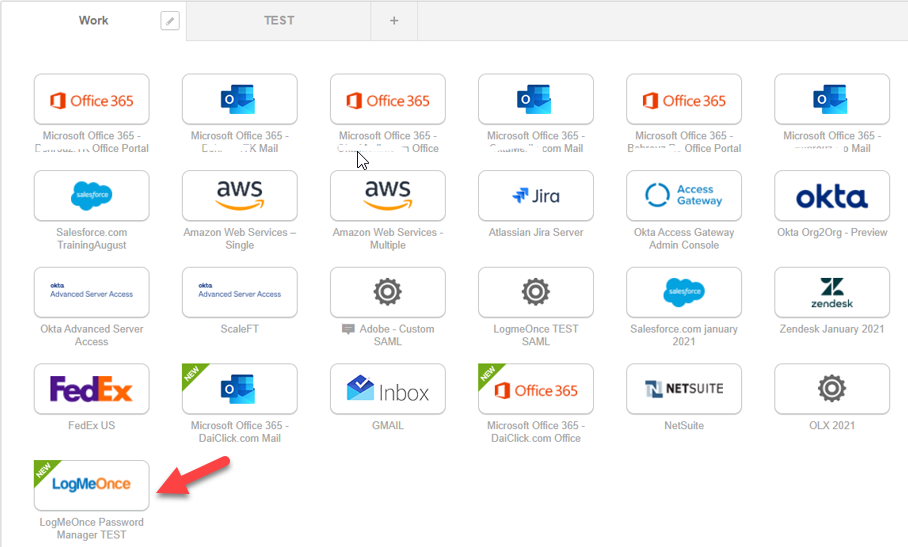
- Now the assigned users should have LogMeOnce app icon on their main Dashboard and they can click on it to login to LogMeOnce using their Okta account:
Comments
Article is closed for comments.