Welcome to LogMeOnce! This guide provides the step-by-step process to create a Business/Team/Enterprise account with LogMeOnce.
Please go to the website https://www.logmeonce.com/ and click the orange bar at the top right corner which says “Sign Up - It’s free”. Then, click on Teams / Business / Enterprise.
Step 1: Once you click on the Signup button, you will be redirected to the sign page, Fill in your information here such as the name, business email address, phone number, etc. Once you have filled all the required fields click on the Sign Up button.
A confirmation email will be sent to your business email.
A thank you page is displayed, please watch the videos to get familiar with LogMeOnce.
Step 2: Please check your email. You will receive the confirmation email from LogMeOnce at your email address. Open that email and click on Activate Your Account button to proceed with the signup process.
Step 3: You will be prompted to the activation page. Here you can set up your password for your secure LogMeOnce account. You also need to enter the security question, in case you lose/forget the master password. This will allow you to recover and verify your account with the help of a security question.
Once you have filled all the fields, click on Save.
Step 4: You will then be directed to the dashboard of LogMeOnce with a Welcome message and guidance of each option on the home page, you can read them and then click on the “Next” blue button at the bottom. The following screen shows Enterprise Edition dashboard. Please bear in mind that the Team Edition dashboard is slightly different.
Step 5: Once your LogMeOnce account has been created, a pop-up window will appear on the bottom right screen to guide and update you throughout the signup process. First, you will need to install the LogMeOnce browser extension.
Step 6: Once done, proceed to Add your first user. Click on Add your first user option from the checklist.
'
Download LogMeOnce extension and LogMeOnce Tools.
You will be prompted to the Users management page. Click on Add User button.
Type in the name of the team member to add to your organization. Click on “Add User” to save it.
The added user will appear in the Users list and you will be one step forward in your checklist.
Step 7: Moving through the Checklist, the next step is Adding your first app. Click on add app option on the checklist.
You will be prompted to your cloud. Click on the Add App button.
Please follow the prompts, and enter your related information. Click on "Add app" to store your App’s User ID, Password, and URL. Next time, you can perform Auto-Login by clicking on this App in your LogMeOnce dashboard.
Once you have filled all the required fields, click on Add App.
The app will be added and it will appear in your cloud.
Step 8: You are now just one step away to complete the checklist. Tap on the Autologin to an app option from the checklist. This validates if Auto-Login works for you.
Click on the app to Auto-Login to the app. You will be directly signed in to the respective app without having to put the credentials.
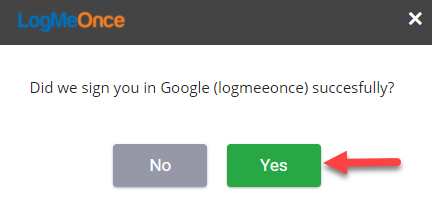
You will be asked if your sign-in was successful. Click on yes if you were able to sign in successfully.
Once you have pressed yes, the checklist will be 100% completed and it will disappear from your screen.
Comments
Article is closed for comments.